原创文章,转载请注明: 转载自慢慢的回味
本文链接地址: 使用VSCode 调试tensorflow c lib的简单方法
Content:
回目录
编写测试程序
编写测试程序TensorflowTest.cpp,放到目录tensorflow/c下面。
//============================================================================ // Name : TensorflowTest.cpp // Author : // Version : // Copyright : Your copyright notice // Description : Hello World in C++, Ansi-style //============================================================================ #include <iostream> #include "c_api.h" #include "c_api_experimental.h" #include "c_test_util.h" #include <algorithm> #include <cstddef> #include <iterator> #include <memory> #include <vector> #include <string.h> using namespace std; int main() { cout << "!!!Hello World!!!" << endl; // prints !!!Hello World!!! cout << "Hello from TensorFlow C library version" << TF_Version() << endl; TF_Status* s = TF_NewStatus(); TF_Graph* graph = TF_NewGraph(); // Construct the graph: A + 2 + B TF_Operation* a = Placeholder(graph, s, "A"); cout << TF_Message(s); TF_Operation* b = Placeholder(graph, s, "B"); cout << TF_Message(s); TF_Operation* one = ScalarConst(1, graph, s, "kone"); cout << TF_Message(s); TF_Operation* two = ScalarConst(2, graph, s, "ktwo"); cout << TF_Message(s); TF_Operation* three = Add(one, two, graph, s, "kthree"); cout << TF_Message(s); TF_Operation* plus2 = Add(a, two, graph, s, "plus2"); cout << TF_Message(s); TF_Operation* plusB = Add(plus2, b, graph, s, "plusB"); cout << TF_Message(s); TF_Operation* plusC = Add(plusB, three, graph, s, "plusC"); cout << TF_Message(s); // Setup a session and a partial run handle. The partial run will allow // computation of A + 2 + B in two phases (calls to TF_SessionPRun): // 1. Feed A and get (A+2) // 2. Feed B and get (A+2)+B TF_SessionOptions* opts = TF_NewSessionOptions(); TF_EnableXLACompilation(opts, true); TF_Session* sess = TF_NewSession(graph, opts, s); TF_DeleteSessionOptions(opts); TF_Output feeds[] = { TF_Output { a, 0 }, TF_Output { b, 0 } }; TF_Output fetches[] = { TF_Output { plus2, 0 }, TF_Output { plusB, 0 }, TF_Output { plusC, 0 } }; const char* handle = nullptr; TF_SessionPRunSetup(sess, feeds, TF_ARRAYSIZE(feeds), fetches, TF_ARRAYSIZE(fetches), NULL, 0, &handle, s); cout << TF_Message(s); // Feed A and fetch A + 2. TF_Output feeds1[] = { TF_Output { a, 0 }, TF_Output { b, 0 } }; TF_Output fetches1[] = { TF_Output { plus2, 0 }, TF_Output { plusB, 0 }, TF_Output { plusC, 0 } }; TF_Tensor* feedValues1[] = { Int32Tensor(1), Int32Tensor(3) }; TF_Tensor* fetchValues1[3]; TF_SessionPRun(sess, handle, feeds1, feedValues1, 2, fetches1, fetchValues1, 3, NULL, 0, s); cout << TF_Message(s); cout << *(static_cast<int*>(TF_TensorData(fetchValues1[0]))) << endl; cout << *(static_cast<int*>(TF_TensorData(fetchValues1[1]))) << endl; cout << *(static_cast<int*>(TF_TensorData(fetchValues1[2]))) << endl; // Clean up. TF_DeletePRunHandle(handle); TF_DeleteSession(sess, s); cout << TF_Message(s); TF_DeleteGraph(graph); TF_DeleteStatus(s); return 0; } |
添加Bazel build配置
修改tensorflow/c/BUILD文件:
替换
load("//tensorflow:tensorflow.bzl", "tf_cuda_cc_test") |
为
load("//tensorflow:tensorflow.bzl", "tf_cuda_cc_test", "tf_cc_binary") |
添加
tf_cc_binary( name = "TensorflowTest", testonly = 1, srcs = [ "TensorflowTest.cpp", ], deps = [ ":c_api_experimental", ":c_test_util", ":c_api", ], ) |
编译测试程序
bazel build -s --config=dbg --config=noaws --config=nogcp --config=nohdfs --config=nonccl --config=xla //tensorflow/c:TensorflowTest --verbose_failures |
VSCode Debug
启动VSCode,打开Tensorflow源代码根目录。
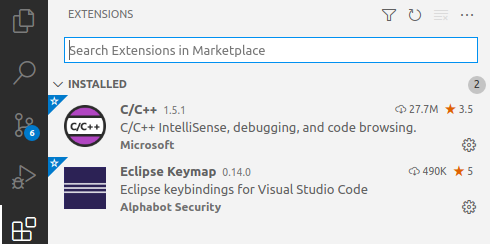
添加CPP插件
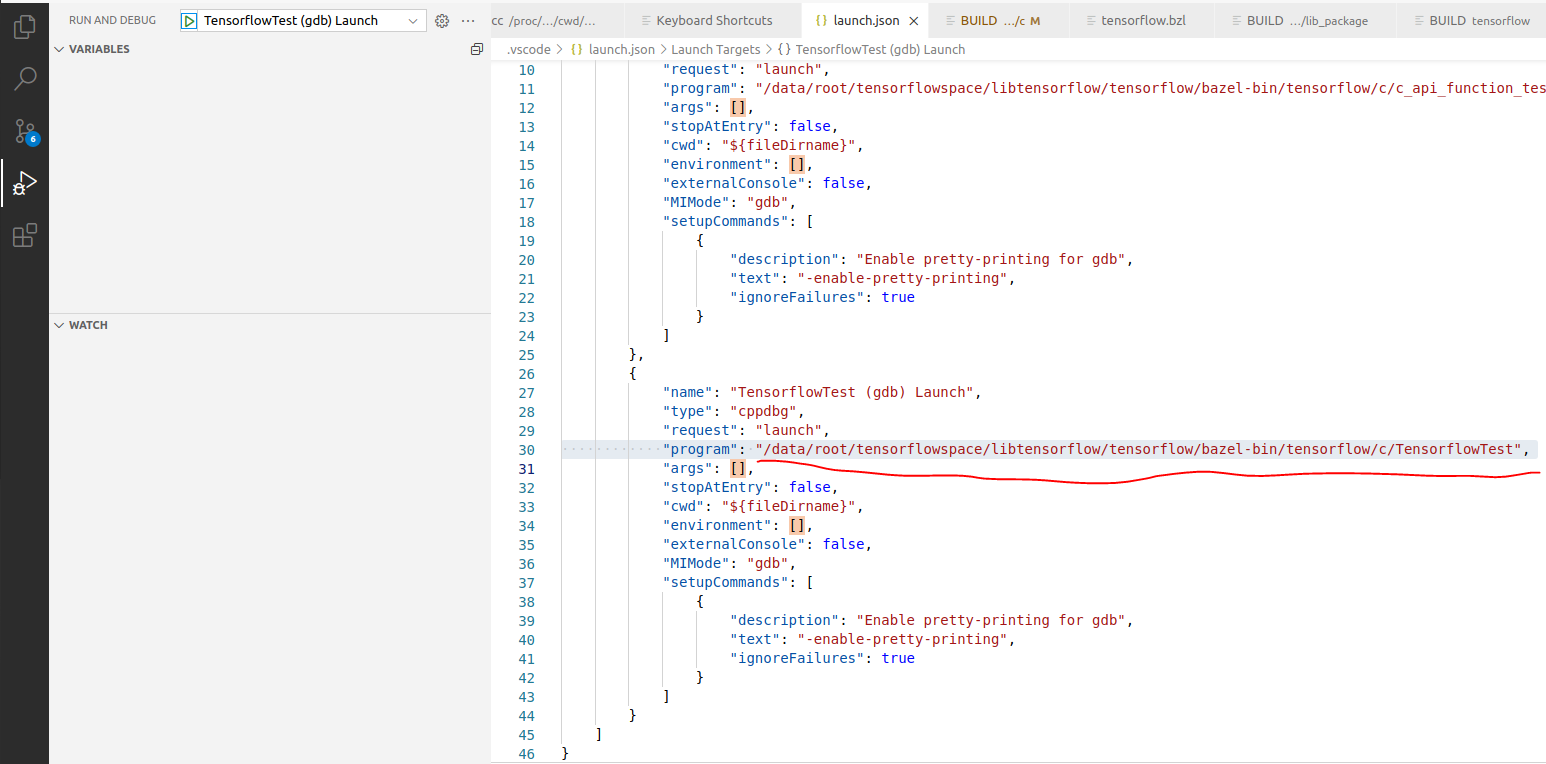
配置Debug,弹出菜单中选择gdb。
然后修改program参数,然后即可在代码上打断点调试
 本作品采用知识共享署名 4.0 国际许可协议进行许可。